The Orton Effect is named after
Michael Orton who first used the technique is a sandwich of two images, one in focus the other out of focus.
Freeman Patterson and
Andre Gallant have both used the technique successfully in their work as well.
I use Adobe CS3 when I photoshop images! It is one of the best photoshops in my opinion!
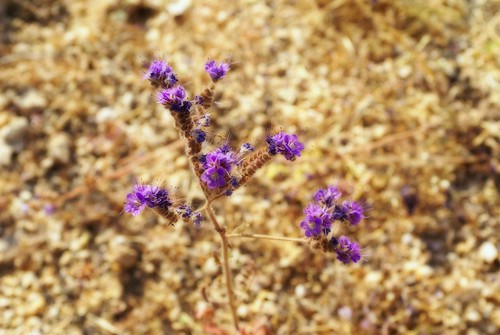
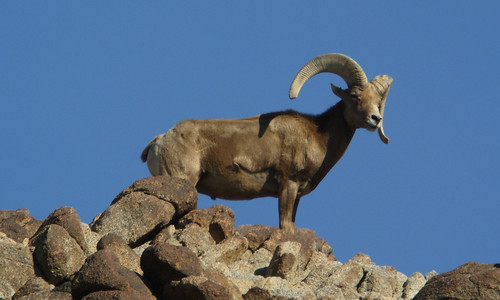
1. Open your image. (Image 1)
2. Duplicate the background layer (Right click on the background layer and choose duplicate) and name that layer Sharp.
3. Create another duplicate of the background layer.
4. Change the Blending mode of the Sharp Copy to screen.
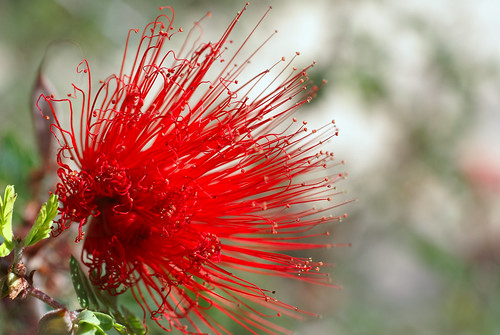
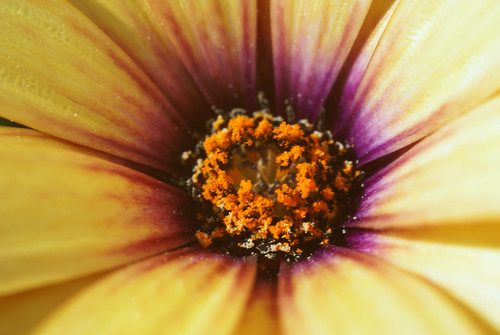
5. With the Sharp Copy layer selected, right click and choose Merge Down. (Image 2)
6. Right click on the Sharp layer, choose Duplicate and name this layer Out of Focus.
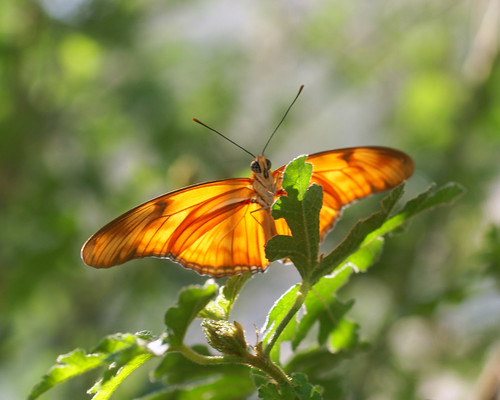
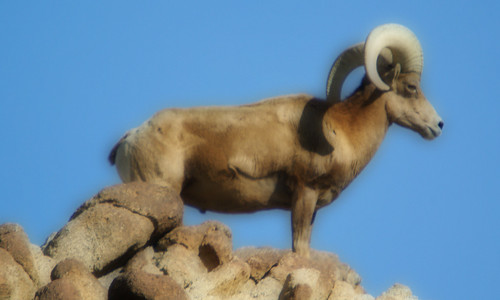
7. On the Filter Menu, choose Blur - Gaussian Blur (Image 3)Depending on the resolution of the image you are using, the amount of blur needed will change. Use enough that the shapes are still visible, but detail is not. For this 6.1 Mega pixel image, a value of 15.9 was sufficient.
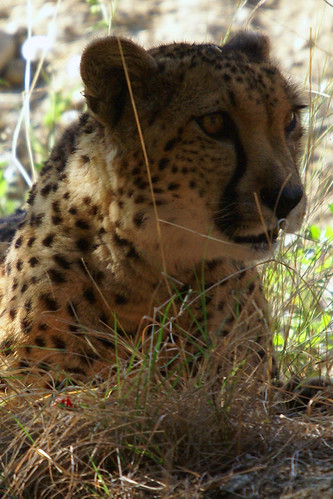
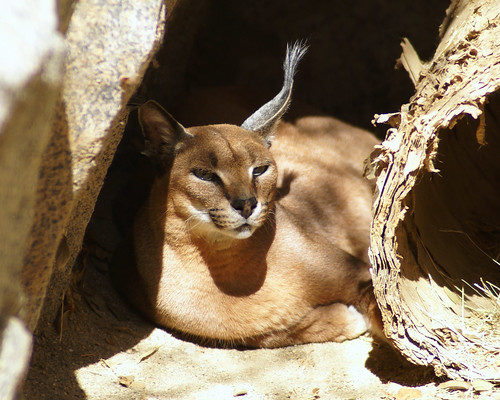
8. Change the blending mode of the Out Of Focus layer to Multiply. (Image 4)
Once you are complete, you may find it necessary to adjust the opacity of your Out of Focus layer and/or apply a levels (or curves) adjustment layer to the Sharp layer if some tweaking is necessary.You can also adjust the amount of blur you apply to the out of focus image, as well as adjustments such as level, brightness and contrast and it is good practice to apply sharpening to your image Sharp layer. (Image 5)
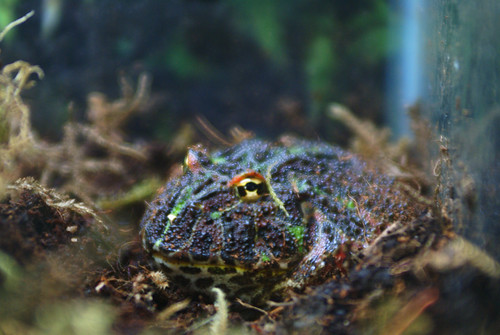
Not all images work well with this effect! You have to decide what looks good when it comes to your own photos and what you like. The current image looked blurry before I used the Orton effect and now it looks nice. Almost like I meant for it to look some what soft and blurry! I think this effect works wonderfully with flowers in my opinion.
Please let me know how you're images turn out using this effect or if you have a different effect you would like to share then please let me know! It is nice when photographers can learn together!