Showing posts with label Edited. Show all posts

Tuesday, November 4, 2008

I Love Photoshop


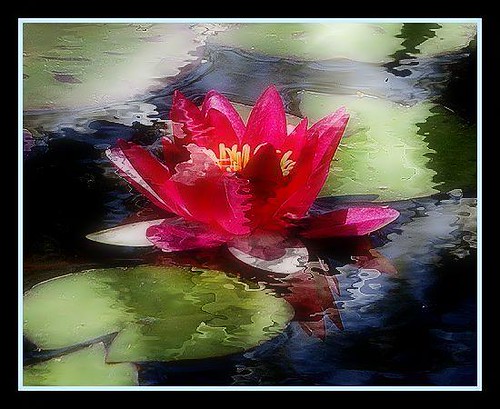
I created this piece by using a farm picture of mine and using the black and white effect to make it infrared. Then I used a layer to blend it slightly to a leaner burn. I then used the burn brush on the ground and area around the barn to make it darker. Then I used the dodge brush to make the barn and clouds lighter. I played with the occupancy of these two brushed for the effect making the effect slight.

Then I borrowed images from Deviant Art. I borrowed the moon from priesteres_stock here:
http://priesteres-stock.deviantart.com/

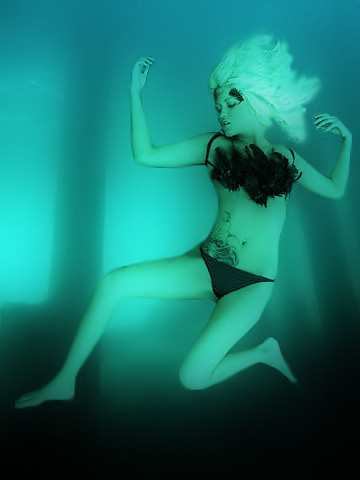
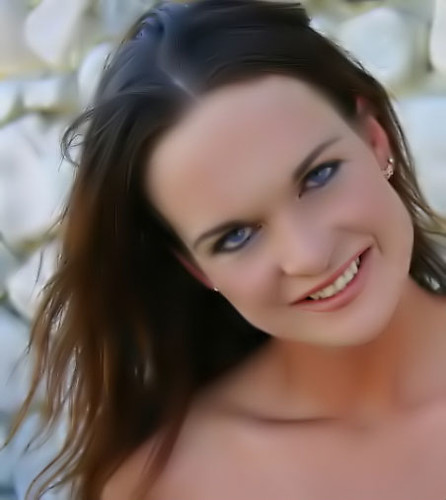
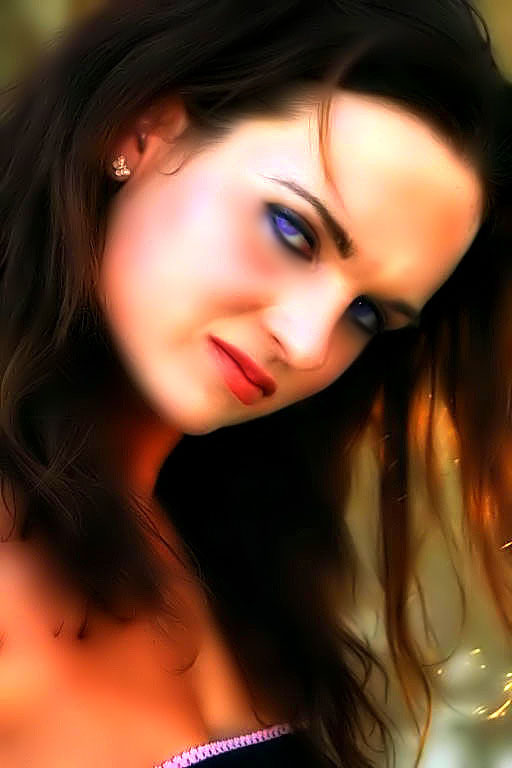
Then I borrowed the lady from SilaynneStock here:
http://silaynnestock.deviantart.com/

I turned the lady into BW after sizing and removing the background around her. Then I used the infrared effect on her. Pasted her to the picture then used the burn brush on her. This helps her match the mood. Then I used a brush occupancy to 9 and a smaller brush for the red on the barn and ladies dress.

I created fog on the image by creating an empty layer then choosing a very light grey color. I set the brush to dissolve with the occupancy to 30. After I brushed over the parts I wanted fog on I used the Gaussian Blur at occupancy 12.5 .

Now I have my Spooky image.

Tuesday, April 8, 2008

Lake Pictures


I took these pictures at Parris Lake, Diamond Valley Lake, and Lake Elsinore in California. They were beautiful. It was a little cloudy. I used LucisArt and Dynamic-HDR. I had a wonderful time.

Wednesday, February 27, 2008

Photo retouch for beginners!

In this tutorial I’ll show you a few simple and powerfull way to make you photos look different. This tutorial is written for beginners but maybe even some advanced users can find themselves in here.

Remember: This tutorial will show you a few ways you can use when you’re retouching your pictures.

Use this tutorial only for your learning purposes.

1. Our first way will be Curves!

Go to Image -> Adjustments -> Curves (CTRL + M)
Choose a setting what you like the most.
I use input 126 and output 9!

Now, let’s go to step 2 of this tutorial.
2. In this step we will play with layers a little.
So again, open up your image.

Now, copy this layer. As a Layer blending mode set Linear burn and play with the Layer opacity.
I set opacity to 80%.

3. In this step we will use Levels.
Once again, open up your picture.

Now, go to Image -> Adjustments -> Levels (CTRL + L)
Play with a settings untill you get what you want.

Input levels are 115 / 1,30 / 255 !
Output levels are 0 / 255 !

4. This step is we’ll use Gradient Map, and also we will use black and white picture.
This is one way that I’m using a lot. It makes me feel powerfull. I can make beautiful B&W pictures in just a few moments.

Open up your picture! I simply converted in to B&W by going to Image -> Mode -> Grayscale!

Go to Image -> Adjustments -> Gradient Map Choose Black and White as a gradient.

Double click on gradient track and set settings until you get what you want.
I set them Gradient Sloid and Smoothness 100. I set stops black and location %20!

These are four asy steps that everybody should know. Now, you’ve got whole spectre of tools and filtersyou can use, so why stop here? Grab a tool a start mixing, retouching, burning….everything!

Monday, February 25, 2008

Monterey Vaction - Bridge Beyond Beauty


This was another picture taken on our way back from our Monterey Vacation! This was one of my faves. I used the Dynamic-HDR tool for this effect.

It is important to be careful with HDR because you can get a cartoon effect if you go to far. In some of my first attemps you see that.

I enjoy waterscapes and this was one of a few I have taken!

Moments Captured In Time - My Flickr Name

Friday, January 25, 2008

NIP/TUCK


Nip/Tuck was the inspiration for this picture and the Gauz came from the poster as well but the model is me. I used the Dynamic-HDR tool on this image after I manipulated it. I love how it came out. I also used the Neat Image tool on me before I added myself to the gauz. It really smoothed me out! Some good places for stock images are Deviant Art or Image Shack!


Thursday, January 24, 2008

Photoshop


I love my Adobe CS3. Look at what I did. I created this out of three stock images from the internet. Then I deleted certain backgrounds. Then I added an underwater filter and walah a dead woman! I like how it came out. I am really getting into the whole photo editing thing;-)

Wednesday, January 23, 2008

One of the Most Beautiful Places in CA!


It is so pretty! This is a great place to take pictures if you are looking for places to get some great shots. Go in the fall or summer. I created this out of one of my photos there. I had to clone out the people. Thanks to http://www.picnik.com/ for the frame.

A flower a day makes it even better!

This picture is only to say have a nice day. Thanks to www.FlauntR.com for the reflection effect. I know there is also a Lillie's reflection in the photo too but I still like how it came out. It looks artistic to me;-)

Tuesday, January 22, 2008

Self Portrait


This is me! Neat Image! With just a few touch ups. Anyway it is very nice to meet everyone! Hello! I like touching up portraits. I like using photoshop. If anyone wants a photo photoshoped I will do it for them. Just send me a quick message from here.

Jacob


This image has the most comments on my flickr page. This is my little brother at the aquarium. He had so much fun. He loves animals. I used the offset in exposure to get the silhouette effect. I also used the deep blue photo filter. I cropped the image to where I wanted. I cloned a few blemishes. All this was done in adjustments in Adobe CS3. Then I put this image through a tool called Neat Image. Out of all my photos this has provoked the most response. It looks better on my Flickr Page!

Monday, January 14, 2008

ME


Here is a self-portrait! I put this image in neat image a few times. I used the Dynamic-HDR tool on this photo. It enhanced the color. I smoothed it out some usinf the smudge tool in the Adobe CS3 photoshop. I also enhanced the colors and used the Overlay tool in blending options.
This is one of my modeling pictures. I used to model a while back. Now I am on the other side of the camera!